Diagnose and fix common issues in your John Deere 1050 efficiently. Check air filter for dirt and fuel quality for engine problems. Verify fuel delivery and ignition system for starting issues. Replace thermostat and inspect cooling system for overheating concerns. Check transmission fluid, belts, and clutch system for slipping gears or rough shifting. Examine hydraulic fluid, filter, and hoses for leaking or slow hydraulics. Identify areas for improvement step by step to troubleshoot effectively and get your tractor back to top performance.
Engine Performance Issues
Wondering why your John Deere 1050 is experiencing engine performance issues? One common culprit could be a clogged air filter. A dirty air filter restricts airflow to the engine, leading to decreased performance. To address this, locate the air filter housing, usually situated near the engine, and inspect the filter. If it appears dirty or clogged with debris, it’s time for a replacement. Simply remove the old filter and install a new one following the manufacturer’s instructions.
Another potential cause of engine performance issues in your John Deere 1050 could be bad fuel. Stale or contaminated fuel can lead to rough idling, misfires, and overall reduced engine power. Make sure you’re using fresh, clean fuel and consider adding a fuel stabilizer to prevent fuel-related problems in the future.
Starting Problems
If your John Deere 1050 is cranking but not starting, it could be due to a fuel delivery issue or a faulty ignition system.
Check the fuel lines, filters, and injectors for clogs, and make sure the ignition coil and spark plugs are functioning properly.
A weak or absent spark could be the culprit behind your starting problems, so testing the spark plug wires and ignition coil is important for diagnosing and resolving the issue.
Cranking but Not Starting
When your John Deere 1050 is cranking but not starting, the issue may stem from several potential causes that require thorough diagnosis and troubleshooting. This problem can be frustrating, but with a systematic approach, you can identify the root cause and get your tractor running smoothly again.
One common reason for cranking but not starting is fuel-related issues. Check the fuel filter, fuel lines, and fuel pump for any blockages or malfunctions. Additionally, make sure the fuel quality is good and that there are no contaminants present.
Another possible cause could be related to the ignition system. Check the spark plugs, ignition coil, and wiring for any damage or wear. It’s also crucial to verify that the ignition timing is correct.
Lastly, the air intake system could be a culprit. Inspect the air filter for clogs and make certain the intake system is clean and free from debris.
| Possible Causes | Diagnostic Steps | Recommended Action |
|---|---|---|
| Fuel system issues | Check fuel filter, lines, pump. Verify fuel quality. | Clear blockages, replace parts if necessary. |
| Ignition system problems | Inspect spark plugs, ignition coil, wiring. Check ignition timing. | Replace faulty components, adjust timing as needed. |
| Air intake blockages | Examine air filter, intake system. Ensure cleanliness. | Clean or replace air filter, clear any obstructions. |
Weak or No Spark
To troubleshoot weak or no spark issues in your John Deere 1050, a systematic examination of the ignition system is crucial to pinpoint and resolve the problem efficiently. Here are some steps to help you diagnose and fix the weak or no spark problem:
- Check Spark Plugs:
Inspect the spark plugs for fouling, damage, or wear. Replace any faulty spark plugs.
- Inspect Spark Plug Wires:
Make sure the spark plug wires are securely connected and not damaged. Replace any worn-out wires.
- Test Ignition Coil:
Use a multimeter to test the ignition coil for proper functioning. Replace the ignition coil if it’s defective.
- Examine Ignition Switch:
Check the ignition switch for any loose connections or faults. Repair or replace the switch if necessary.
- Verify Battery Voltage:
Confirm that the battery has sufficient voltage to power the ignition system. Charge or replace the battery if voltage is low.
Overheating Concerns

Inspect the cooling system thoroughly to identify any potential issues causing overheating in your John Deere 1050.
Consider replacing the thermostat and follow recommended tips to guarantee proper installation.
Additionally, perform a radiator flushing procedure to maintain peak cooling efficiency and prevent overheating concerns.
Cooling System Inspection
Examine all aspects of the cooling system components to pinpoint potential causes of overheating in your John Deere 1050 tractor. Begin by visually inspecting for leaks, loose connections, or damaged parts.
Next, check the coolant level in the radiator and top it up if necessary with the recommended coolant type. Inspect the radiator for any debris or blockages that may hinder proper airflow.
Additionally, scrutinize the radiator cap for signs of wear or malfunction. Finally, evaluate the condition of the water pump by looking for leaks or unusual noises during operation.
Thermostat Replacement Tips
When addressing overheating concerns in your John Deere 1050 tractor, replacing the thermostat is an essential step in maintaining ideal engine temperature control. The thermostat plays a critical role in regulating the coolant flow through the engine, ensuring it operates at the best temperature. Here are some tips to guide you through the thermostat replacement process:
| Step | Instructions | Tools Needed |
|---|---|---|
| 1. Drain Coolant | Begin by draining the coolant from the radiator to access the thermostat housing. | Drain pan, wrench |
| 2. Remove Housing | Locate the thermostat housing, usually connected to the upper radiator hose, and remove it carefully. | Socket set, scraper |
| 3. Replace Thermostat | Take out the old thermostat, replace it with a new one ensuring it’s installed correctly. | New thermostat, gasket |
| 4. Reassemble Parts | Reattach the housing, refill the radiator with coolant, and check for any leaks. | Coolant, screwdriver |
| 5. Test Operation | Start the engine and monitor the temperature gauge to ensure the new thermostat functions properly. | Thermometer, gloves |
Following these steps will help you address overheating issues and keep your John Deere 1050 running smoothly.
Radiator Flushing Procedure
To maintain peak engine cooling and address overheating concerns in your John Deere 1050 tractor, the radiator flushing procedure is a critical maintenance task that helps remove accumulated debris and sediment from the cooling system.
Follow these steps to guarantee a successful radiator flushing:
- Prepare the Tractor: Park the tractor on level ground, allow the engine to cool, and disconnect the battery to prevent any electrical mishaps.
- Drain the Coolant: Locate the radiator drain plug, place a drain pan underneath, and carefully loosen the plug to drain the coolant completely.
- Flush the Radiator: Use a mixture of water and radiator flush solution, fill the radiator, start the engine, and let it run to circulate the solution thoroughly.
- Rinse and Refill: Drain the radiator again, flush it with clean water until it runs clear, then refill the radiator with a mixture of coolant and water as per manufacturer recommendations.
- Bleed the System: Remove any air pockets by running the engine with the radiator cap off, topping up coolant as needed, and finally, check for leaks.
Transmission Troubleshooting
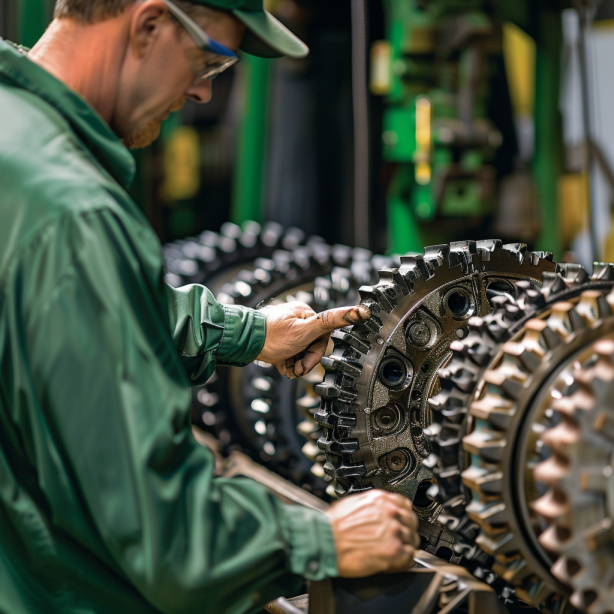
Diagnosing transmission issues on a John Deere 1050 involves checking the fluid levels, inspecting for leaks, and testing the clutch operation. Begin by examining the transmission fluid level to confirm it’s within the recommended range. Low fluid levels can lead to poor transmission performance.
Next, inspect the transmission system for any signs of leaks, which can occur at seals, gaskets, or damaged transmission components. Leaks can result in fluid loss, leading to inadequate lubrication and potential damage to the transmission.
After checking the fluid and for leaks, proceed to test the clutch operation. Ensure that the clutch engages and disengages smoothly without any slippage. A slipping clutch can cause erratic gear shifts and difficulty in controlling the tractor.
If any issues are found during these checks, further inspection or professional assistance may be necessary to address the transmission problems effectively. Regularly inspecting these key areas can help maintain a healthy transmission system in your John Deere 1050.
Slipping Gears
Inspect the transmission system for slipping gears by observing any instances of unexpected disengagement or inconsistent power delivery while operating your John Deere 1050. Slipping gears can result from various issues within the transmission system that need immediate attention to prevent further damage.
Here are some steps to diagnose and address slipping gears:
- Check the transmission fluid level to make sure it’s at the recommended level for proper lubrication.
- Inspect the condition of the transmission belts for any signs of wear or damage that may be causing slippage.
- Examine the clutch system for proper adjustment and functionality, as a worn-out clutch can lead to gear slipping.
- Evaluate the gear shift linkage to ensure it’s correctly aligned and not causing gears to slip out of place.
- Test the tractor under different loads and speeds to pinpoint when the slipping occurs, helping to narrow down the potential causes for the issue.
Taking these steps can assist in diagnosing and resolving slipping gear problems in your John Deere 1050, guaranteeing smooth operation and preventing further transmission issues.
Rough Shifting
Check for rough shifting in your John Deere 1050 by monitoring any abrupt or jerky gear changes during operation, indicating potential transmission issues that require prompt attention. Rough shifting can be a symptom of various underlying problems within the transmission system. One common cause is low or contaminated transmission fluid, leading to poor lubrication and increased friction between components.
Insufficient clutch pressure or a worn-out clutch can also result in rough shifting as the gears struggle to engage smoothly. To address rough shifting, start by checking the transmission fluid level and quality. If it’s low or dirty, replace it following the manufacturer’s recommendations.
Inspect the clutch system for any signs of wear or damage, such as slipping or difficulty disengaging gears. Adjusting the clutch or replacing worn components may be necessary to restore proper shifting functionality. Additionally, make sure that the shift linkage is properly adjusted and free of any obstructions that could hinder smooth gear changes.
Hydraulic System Problems
Experiencing issues with the hydraulic system on your John Deere 1050 can greatly impact the performance and functionality of your tractor. Here are some common hydraulic system problems you may encounter and how to address them:
- Low Hydraulic Fluid: Check the hydraulic fluid level and top it up if it’s low to guarantee proper system operation.
- Clogged Hydraulic Filter: Inspect the hydraulic filter for any debris or clogs that may be restricting fluid flow, and replace it if necessary.
- Worn Hydraulic Hoses: Look for any signs of wear or damage on the hydraulic hoses and replace them to prevent leaks or system failure.
- Faulty Hydraulic Pump: If you notice a decrease in hydraulic power, the pump may be failing and might need to be repaired or replaced.
- Air in the Hydraulic System: Bleed the air out of the system to ensure proper hydraulic function and avoid spongy or inconsistent operation.
Regular maintenance and prompt attention to hydraulic system issues can help keep your John Deere 1050 running smoothly.
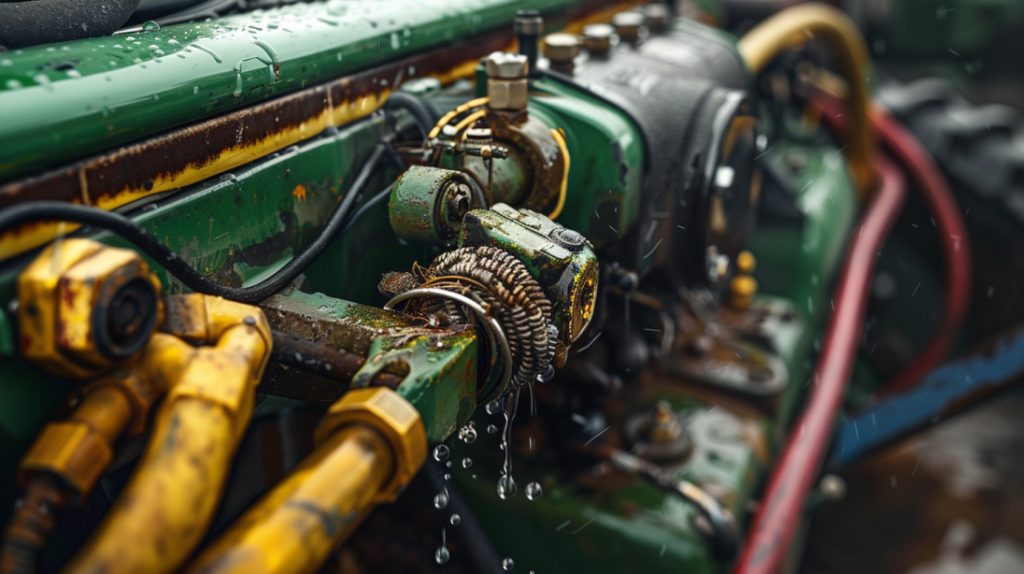
Leaking Hydraulics
To address leaking hydraulics on your John Deere 1050, focus on identifying the source of the leak and taking necessary steps to repair it promptly. Start by inspecting all hydraulic hoses, fittings, and connections for any signs of damage or wear. Common areas of leakage include O-rings, seals, and hose connections.
Use a piece of cardboard to determine the exact location of the leak by placing it under the suspected area and running the hydraulics to see where the oil drips onto the cardboard.
Once you have located the source of the leak, turn off the engine, relieve hydraulic pressure, and proceed to replace or repair the damaged component. Make sure that you use the correct replacement parts and follow the manufacturer’s guidelines for installation.
After the repair, clean up any spilled hydraulic fluid thoroughly to prevent accidents and environmental contamination. Regularly check for leaks and address them promptly to maintain excellent hydraulic system performance on your John Deere 1050.
Slow Hydraulics
Inspecting the hydraulic fluid level and quality is essential when troubleshooting slow hydraulics on your John Deere 1050. Slow hydraulics can have a major impact on the efficiency and performance of your tractor.
Here are some key steps to diagnose and address this issue:
- Check Fluid Level: Make sure the hydraulic fluid level is within the recommended range as low fluid levels can cause sluggish hydraulic operation.
- Inspect for Contamination: Contaminants like dirt or debris in the hydraulic fluid can lead to slow hydraulics. Verify that the fluid is clean and free from impurities.
- Examine Hydraulic Filters: Clogged or dirty hydraulic filters can restrict the flow of fluid, resulting in slow hydraulic response. Replace filters if necessary.
- Inspect Hydraulic Hoses: Check for any leaks or damage in the hydraulic hoses that could be causing a loss of pressure and slow operation.
- Monitor Hydraulic Pump: A malfunctioning hydraulic pump can also cause slow hydraulics. Ensure the pump is functioning correctly to maintain peak hydraulic performance.
Frequently Asked Questions
John Deere 1050 Problems: How to Diagnose and Fix
To prevent future John Deere 1050 problems, you must prioritize regular maintenance, such as changing fluids and filters on schedule.
Inspect for leaks, loose connections, and worn parts frequently.
Keep an eye on tire pressure and maintain proper storage conditions to prevent rust and corrosion.
Following the manufacturer’s guidelines for operation and maintenance is essential.
Are There Any Common Electrical Issues With the John Deere 1050?
When it comes to common electrical issues with the John Deere 1050, you may encounter problems like faulty wiring connections, corroded terminals, or a malfunctioning ignition switch. These issues can lead to starting problems or electrical components not working properly.
To address these concerns, you’ll want to carefully inspect the wiring, clean any corroded terminals, and test the ignition switch for proper functionality. Regular maintenance can help prevent these electrical issues from occurring.
What Maintenance Schedule Is Recommended for the John Deere 1050?
To maintain your John Deere 1050 running smoothly, a maintenance schedule must be followed. Regularly change the engine oil and filter every 100 hours or annually.
Inspect and replace the air filter when needed. Check and replace the fuel filter and hydraulic filter every 200 hours.
Grease all fittings every 50 hours. Keep an eye on tire pressure and fluid levels.
This routine upkeep will guarantee peak performance and longevity of your tractor.
Can I Use Aftermarket Parts to Repair My John Deere 1050?
Yes, you can use aftermarket parts to repair your John Deere 1050. However, it’s important to verify that the parts are compatible and of high quality.
While original parts are recommended, aftermarket options can be cost-effective. Make sure the aftermarket parts meet or exceed the OEM specifications for a successful repair.
Always double-check compatibility and quality to avoid any further issues with your John Deere 1050.
How Do I Troubleshoot Unusual Noises Coming From My John Deere 1050?
Hearing strange sounds from your John Deere 1050? Wondering how to troubleshoot them efficiently?
Start by pinpointing the source of the noise. Check the engine, transmission, and any moving components for signs of wear or damage.
Are belts properly tensioned? Is there any debris causing the issue?
Conclusion
To effectively diagnose and fix John Deere 1050 problems, you must carefully address engine performance issues, starting problems, overheating concerns, transmission troubleshooting, and hydraulic system problems.
By identifying the root cause of each issue and implementing the necessary repairs or adjustments, you can guarantee your John Deere 1050 operates at peak performance.
Remember to regularly maintain and inspect your equipment to prevent future problems and keep it running smoothly.
Fixing these issues will ensure top functionality and longevity for your John Deere 1050.

Leave a Reply