If you’ve ever faced challenges with your John Deere Easy Change system, you’re not alone; many users encounter issues that warrant attention. From performance hiccups to unexpected leaks, troubleshooting these problems can be a game-changer for your equipment’s longevity. So, before you get frustrated and contemplate drastic measures, let’s explore some common problems and their solutions to guarantee your John Deere machine keeps running smoothly.
Key Takeaways
- Inspect oil filter for proper installation and leaks.
- Verify oil level and quality to prevent engine issues.
- Address oil leakage promptly to prevent damage.
- Check for signs of filter malfunction affecting engine performance.
- Ensure correct blade height for even mowing patterns.
Engine Performance Issues

Are you experiencing a drop in engine performance after using the John Deere Easy Change system? If so, you may be encountering issues related to the oil filter or oil quality. The Easy Change system is designed for convenience, but it’s vital to make sure that it isn’t compromising your engine’s performance.
One common problem that can lead to decreased engine performance is using a low-quality or incorrect type of oil. The viscosity and additives in the oil play a significant role in maintaining peak engine function. Make certain that you’re using the recommended oil grade and quality for your specific John Deere equipment.
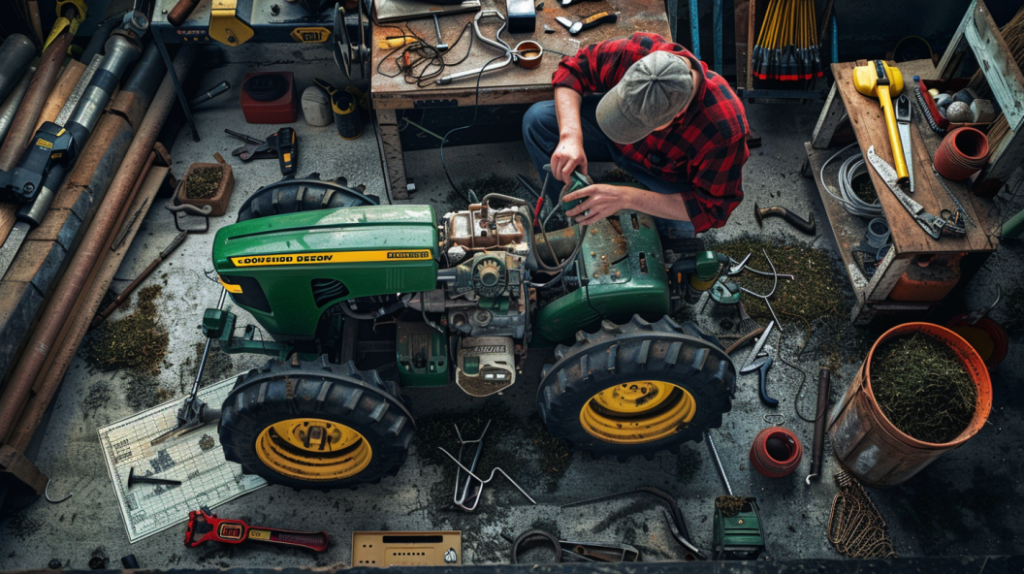
Additionally, if the Easy Change oil filter isn’t installed correctly or is defective, it can lead to inadequate lubrication and filtration of the engine oil. Inspect the filter for any signs of damage or improper installation, and replace it if necessary.
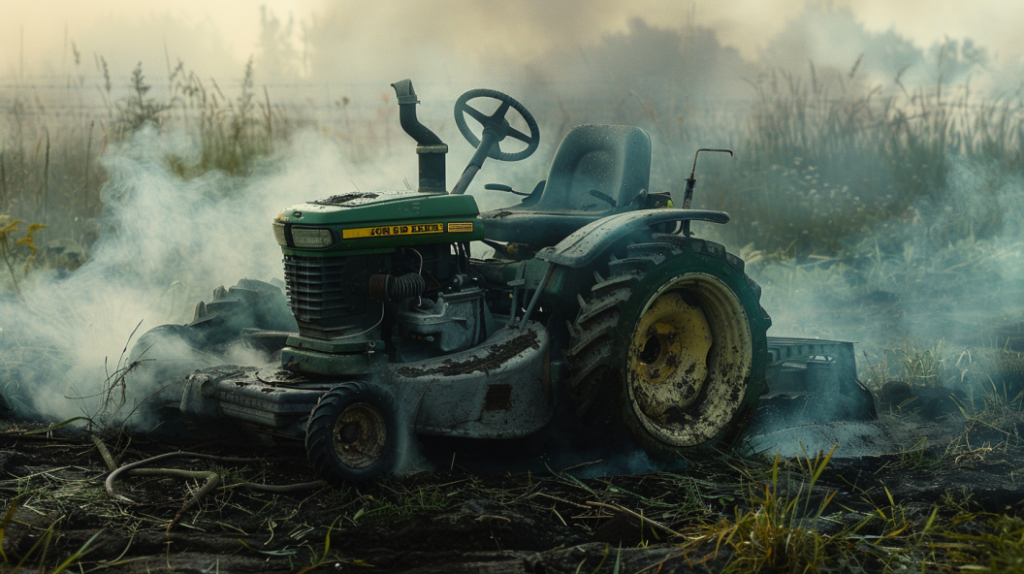
Oil Leakage Problems
Experiencing oil leakage issues with your John Deere equipment following the use of the Easy Change system can indicate potential problems that need immediate attention. Oil leaks can stem from various sources, such as improperly seated filters, damaged seals, or overfilled oil levels.
To troubleshoot oil leakage, start by inspecting the oil filter. Make sure it’s correctly installed and sealed to prevent leaks. Check the filter housing for any signs of damage that could compromise the seal. Additionally, verify that the oil drain plug is securely tightened to prevent seepage.
Examine the oil level to confirm it’s within the recommended range. Overfilling the oil can lead to excess pressure within the system, causing leaks. If the oil level is too high, drain the excess oil to the appropriate level.
Regularly monitoring your equipment for oil leaks and addressing them promptly can prevent potential damage and ensure peak performance. If the issue persists despite troubleshooting efforts, consult a professional technician for further assistance.
Filter Malfunction Signs
Examining your John Deere equipment’s oil filter for malfunction signs is essential to identifying potential issues with the Easy Change system. When inspecting the filter, be on the lookout for any signs of leakage, such as oil seepage around the filter seal or visible cracks in the filter housing. Additionally, check for any abnormal changes in oil color or consistency, which could indicate internal filter damage or contamination.
Another key indicator of filter malfunction is a decrease in engine performance or efficiency. If you notice a drop in power output, increased fuel consumption, or unusual engine noises, it may be linked to a faulty oil filter impeding proper lubrication and filtration.
Furthermore, a clogged or malfunctioning filter can lead to overheating of the engine due to restricted oil flow. Keep an eye out for elevated engine temperatures or warning lights on the dashboard.
Regularly monitoring these signs and promptly addressing any filter malfunctions can help maintain the peak performance of your John Deere equipment.
Loss of Cutting Quality
Examining the mower blades and deck for wear and tear is crucial in addressing issues related to the loss of cutting quality in your John Deere equipment. Blades that are dull, bent, or unevenly worn can greatly impact the quality of your mowing. Check for any nicks, bends, or excessive wear on the blades as these can lead to an uneven cut. Make sure the blades are sharp and balanced correctly to maintain a clean and precise cut.
Moreover, inspect the mower deck for any signs of damage or misalignment. A damaged or bent deck can cause the blades to operate ineffectively, resulting in an uneven cut. Ensure the deck is level and that there are no obstructions hindering the blades’ rotation. Proper maintenance of the deck will help enhance the cutting quality of your John Deere equipment.
Regularly cleaning the underside of the deck and removing any debris or buildup will prevent clogging and ensure efficient cutting performance.
Uneven Mowing Patterns
To address uneven mowing patterns when using your John Deere mower, it’s vital to first make sure that the blade height adjustment is set correctly. Incorrect blade height can lead to inconsistent cutting heights, resulting in uneven mowing patterns.
Additionally, regularly checking and maintaining proper tire pressure is essential to guarantee even weight distribution and a level mowing surface, preventing irregular patterns in your lawn.
Blade Height Adjustment
Make sure that the blade height adjustment on your John Deere mower is set evenly to prevent any irregular mowing patterns. Uneven mowing patterns can be a result of the blades not being adjusted to the same height across the cutting deck.
To address this issue, start by parking the mower on a flat, level surface. Then, adjust the blade height by raising or lowering it according to the recommended settings in your John Deere mower manual. Make sure to check each blade to ensure they’re all set at the same height to achieve a uniform cut.
If your blades are set at different heights, it can lead to some areas of the lawn being cut shorter than others, resulting in an uneven appearance. By maintaining consistent blade height adjustment, you can guarantee a more uniform mowing pattern and a well-manicured lawn.
Regularly inspecting and adjusting the blade height on your John Deere mower will help you achieve a professional-looking cut every time you mow.
Tire Pressure Check
Checking the tire pressure on your John Deere mower is crucial to guaranteeing even mowing patterns across your lawn. Uneven tire pressure can lead to an uneven cut, causing some areas to be cut too low while others remain too tall.
To address this issue, start by using a tire pressure gauge to measure the pressure in each tire. Refer to your mower’s manual for the appropriate tire pressure range, typically around 10-14 psi for rear tires and 14-18 psi for front tires.
If the tire pressure is too high, use a pressure gauge to release air until you reach the correct psi. Conversely, if the pressure is too low, use an air compressor to inflate the tire to the recommended level.
Remember to check the tire pressure when the tires are cold, as heat from mowing can increase the pressure readings.
Error Codes and Warnings
When encountering error codes and warnings on your John Deere Easy Change system, promptly refer to the user manual for troubleshooting steps. Error codes are designed to alert you to potential issues within the system that may require attention. Common error codes include notifications for low oil pressure, overheating, or electrical malfunctions.
When an error code appears, take note of the specific code displayed on the screen as this information is essential for identifying the problem accurately.
Warnings on the Easy Change system are important indicators of potential problems that need to be addressed to prevent damage to your equipment. These warnings may include notifications about low battery levels, engine malfunctions, or hydraulic system issues.
It’s crucial to heed these warnings promptly and take the necessary steps outlined in the user manual to resolve the issue at hand.
Electrical Connectivity Troubles
All electrical connections in the John Deere Easy Change system must be securely fastened to guarantee connectivity issues are prevented during operation. When encountering electrical connectivity troubles, the first step is to inspect all wiring harnesses for any signs of wear, damage, or loose connections.
Confirm that all connections are properly seated and that there are no visible signs of corrosion that could impede the flow of electrical current.
If you’re experiencing intermittent electrical problems, it’s recommended to perform a thorough check of the battery terminals and charging system. Loose or corroded terminals can lead to voltage drops, causing erratic electrical behavior.
Additionally, inspect the fuse box for any blown fuses that may be disrupting the electrical flow within the system.
In cases where connectivity issues persist, it may be necessary to consult the John Deere Easy Change system manual to trace the wiring diagrams and identify potential points of failure.
Remember to always disconnect the battery before attempting any electrical troubleshooting to prevent accidental shorts or damage to the system.
Software Update Requirements
You may encounter update compatibility issues when attempting to install software updates on your John Deere equipment. This can lead to update installation errors that hinder the performance and functionality of your machinery.
Understanding the software update requirements is essential to guarantee smooth operations and prevent potential setbacks.
Update Compatibility Issues
To address the update compatibility issues with the John Deere Easy Change system, specific software update requirements must be met for smooth functionality. Ensuring that your equipment is running the latest software version is essential to prevent compatibility issues that may arise during operation. Before attempting to update the software, it’s important to verify that the update is compatible with your specific model of John Deere equipment.
Each software update is tailored to work efficiently with certain models, and using the wrong update can lead to malfunctions.
To determine which software update is compatible with your John Deere Easy Change system, consult the official John Deere website or contact customer support for guidance. Additionally, make sure your equipment meets the minimum system requirements for the update to prevent any compatibility issues.
Keeping your software up to date is key to enjoying the full benefits of the John Deere Easy Change system and avoiding any potential compatibility pitfalls.
Update Installation Errors
Guarantee that the software update requirements for the John Deere Easy Change system installation are meticulously followed to avoid any potential errors during the process. Before initiating the update installation, make certain that your John Deere Easy Change system meets the minimum software version specified by the manufacturer. Failing to do so might result in compatibility issues, leading to update failures.
Additionally, verify that your device has sufficient available storage space to accommodate the update files. Inadequate storage can impede the update process, causing errors or incomplete installations.
It is essential to have a stable internet connection throughout the update installation. A poor or intermittent connection can disrupt the download process, resulting in corrupted files or failed updates.
Lastly, make sure that your device’s battery is adequately charged or connected to a power source during the update. A loss of power mid-installation can lead to bricking your John Deere Easy Change system, requiring professional intervention to fix.
Frequently Asked Questions
Can Using Non-John Deere Oil Filters Cause Easy Change Problems?
Using non-John Deere oil filters can indeed lead to easy change problems. These filters may not fit properly or have the same level of quality as John Deere filters, causing issues with the oil change process.
It’s important to use the recommended filters to guarantee smooth operation and prevent potential complications. Stick to John Deere filters to maintain peak performance and avoid any unnecessary hassles during oil changes.
How Often Should the Easy Change System Be Inspected?
To maintain peak performance, inspect the Easy Change system every 50 hours of operation or at the start of each mowing season. Regular checks promote proper functioning and help prevent issues.
Neglecting inspections can lead to avoidable problems down the road. Stay proactive by adhering to the recommended inspection intervals to keep your equipment running smoothly and efficiently.
Is It Normal for the Easy Change System to Get Hot During Operation?
Yes, it’s normal for the Easy Change system to get hot during operation. The system experiences elevated temperatures due to the friction and heat generated by the engine components.
This heat is a byproduct of the system’s function and is typically monitored within safe operating parameters. However, it’s crucial to keep an eye on the temperature to make sure it doesn’t exceed recommended levels, as overheating could potentially lead to performance issues or system damage.
Can the Easy Change System Be Retrofitted to Older John Deere Models?
Yes, the easy change system can be retrofitted to older John Deere models with some modifications. You’ll need to verify compatibility with your specific model and make adjustments as needed.
Retrofitting may involve installing additional components, recalibrating systems, and possibly consulting with a professional for guidance. It’s important to follow manufacturer guidelines and guarantee proper installation to avoid any potential issues or malfunctions.
Are There Any Special Disposal Instructions for Used Easy Change Cartridges?
When it comes to disposing of used Easy Change cartridges, you must handle them appropriately. An example is to place the used cartridge in a sealed bag to prevent any oil leaks.
Then, take it to a designated recycling center that accepts oil filters. Remember, improper disposal can harm the environment, so always follow local regulations for recycling used oil filters.
Conclusion
To sum up, by following this troubleshooting guide for John Deere Easy Change system problems, you can address issues effectively and maintain your equipment’s performance.
Remember to regularly inspect the oil filter, monitor cutting quality, and guarantee proper maintenance to prevent common problems.
Don’t hesitate to consult the manual or seek professional assistance if needed.
Stay proactive in identifying and resolving issues to keep your equipment running smoothly.
Remember, prevention is always better than cure.
Leave a Reply