
If you’re a Harley owner, you know that your motorcycle is more than just a machine – it’s a symbol of freedom, adventure, and the open road. That’s why it’s so frustrating when something goes wrong, especially with something as important as the ignition switch. If you’re experiencing issues with your Harley’s ignition switch, you’re not alone. In this article, we’ll explore some of the common problems that Harley owners face with their ignition switches and provide some tips on how to diagnose and fix the issue.

Understanding Ignition Switch Problems The ignition switch is a critical component of your Harley’s electrical system. It’s responsible for initiating the electrical system and starting the engine. When it fails, it can cause a range of problems, from difficulty starting the engine to complete failure of the electrical system. Some of the most common issues that Harley owners face with their ignition switches include a worn-out key, wiring problems, and a faulty switch.
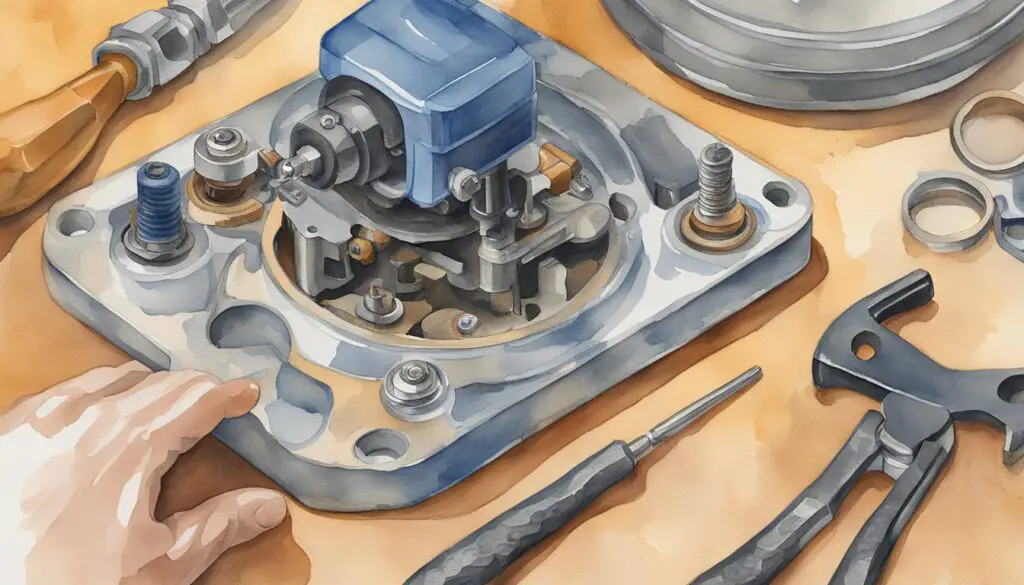
Diagnosing the Issue If you’re experiencing issues with your Harley’s ignition switch, the first step is to diagnose the problem. This can be done by checking the wiring connections for signs of wear or corrosion, testing for continuity between each contact point, and inspecting the switch itself for signs of damage or wear. Once you’ve identified the problem, you can move on to fixing it.
Key Takeaways
- Harley ignition switch problems can cause a range of issues, from difficulty starting the engine to complete failure of the electrical system.
- Diagnosing the problem requires checking the wiring connections, testing for continuity, and inspecting the switch for damage or wear.
- Fixing the problem may require replacing the switch, repairing wiring connections, or performing preventative maintenance.
Understanding Ignition Switch Problems
If you own a Harley-Davidson motorcycle, you may experience ignition switch problems at some point. Ignition switch problems can cause a range of issues, from difficulty starting your bike to complete failure to start. In this section, we’ll take a closer look at common symptoms of faulty ignition switches and the safety risks associated with ignition issues.
Common Symptoms of Faulty Ignition Switch
Some common signs of ignition switch problems include difficulty turning the key, intermittent starting, and failure to start. Other symptoms include flickering lights, a dead battery, and a clicking sound when you turn the key. If you notice any of these symptoms, it’s important to address the issue as soon as possible.
Safety Risks Associated with Ignition Issues
Ignition switch problems can be dangerous, as they can cause your bike to stall or fail to start while you’re riding. This can leave you stranded in the middle of traffic, which can be dangerous. In addition, if your bike stalls while you’re riding, you may lose control of your bike and crash. To avoid these safety risks, it’s important to address ignition switch problems as soon as you notice them.
To summarize, ignition switch problems can be a serious issue for Harley-Davidson motorcycle owners. By understanding the common symptoms of faulty ignition switches and the safety risks associated with ignition issues, you can take steps to address these problems and keep yourself safe while riding.
Diagnosing the Issue
If you are experiencing issues with your Harley’s ignition switch, it is important to diagnose the problem as soon as possible. Here are some steps to help you diagnose electrical issues with your Harley’s ignition switch.
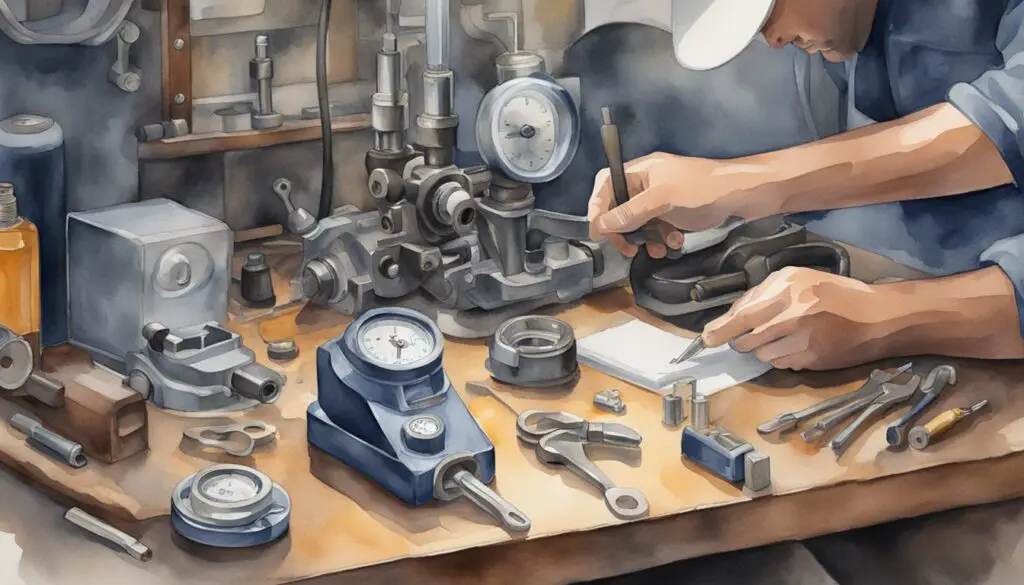
Tools Required for Diagnosis
Before you begin diagnosing the issue, you will need some tools. Here are some tools that are required for diagnosing the issue:
- Multimeter
- Screwdriver
- Wrench
Steps to Diagnose Electrical Issues
- Check the Battery: The first step in diagnosing the issue is to check the battery. Make sure that your battery is fully charged. If the battery is not charged, charge it before proceeding with the diagnosis.
- Check the Ignition Switch: Check the ignition switch for any signs of damage or wear. If the switch is damaged, it may need to be replaced.
- Check the Wiring: Check the wiring for any signs of damage or wear. Make sure that all connections are tight and secure.
- Test the Ignition Switch: Use a multimeter to test the ignition switch. Set the multimeter to the resistance setting and check the resistance of the ignition switch. If the resistance is not within the specified range, the switch may need to be replaced.
When to Consult a Mechanic
If you are unable to diagnose the issue or if you do not have the necessary tools, it is best to consult a professional mechanic or your local Harley Davidson dealership. A mechanic will be able to diagnose the issue and provide you with a solution to fix the problem.
Remember, it is important to diagnose and fix any issues with your Harley’s ignition switch as soon as possible to avoid any potential accidents or damage to your motorcycle.
Common Causes of Ignition Switch Problems

If you own a Harley-Davidson motorcycle, you may experience problems with your ignition switch. These issues can be frustrating and even dangerous if left unaddressed. In this section, we will explore some of the most common causes of ignition switch problems and what you can do to prevent them.
Wear and Tear Over Time
One of the most common causes of ignition switch problems is wear and tear over time. As you use your motorcycle, the ignition switch can become worn down and less effective at starting your bike. This can lead to starting difficulties or even prevent your motorcycle from running altogether.
To prevent wear and tear from affecting your ignition switch, it’s important to regularly maintain your motorcycle and replace any worn parts as needed. This can include replacing the ignition switch itself if it becomes too worn down to function properly.
Corrosion and Dirt Build-Up
Another common cause of ignition switch problems is corrosion and dirt build-up. Over time, moisture and dirt can accumulate in and around your ignition switch, causing it to become less effective at starting your motorcycle.
To prevent this from happening, it’s important to regularly clean your ignition switch and the surrounding area. You can use contact cleaner or a similar product to remove any dirt or debris that may be affecting your ignition switch.
Loose Connections and Faulty Wiring
Finally, loose connections and faulty wiring can also cause ignition switch problems. If the wiring connecting your ignition switch to your motorcycle’s battery or starter becomes loose or damaged, it can prevent your motorcycle from starting.
To prevent this from happening, it’s important to regularly inspect your motorcycle’s wiring and connections and make any necessary repairs. This can help ensure that your ignition switch is always able to start your motorcycle when you need it to.
By understanding these common causes of ignition switch problems and taking steps to prevent them, you can help ensure that your Harley-Davidson motorcycle is always ready to go when you are.
Step-by-Step Repair Guide
If you are experiencing ignition switch problems with your Harley Davidson motorcycle, don’t worry. Here’s a step-by-step guide on how to fix the issue:
Replacing the Ignition Switch
If your ignition switch is damaged beyond repair, you will need to replace it. Here’s how:
- Disconnect the battery to avoid any electrical short circuits during the process.
- Locate the ignition switch. For most Harley Davidson models, it is located on the tank. But sometimes, it can be near the dashboard. Check the owner’s manual if you’re not sure where to look.
- Remove the screws that hold the ignition switch in place.
- Disconnect the wiring harness from the old ignition switch.
- Connect the wiring harness to the new ignition switch.
- Secure the new ignition switch in place with screws.
- Reconnect the battery.
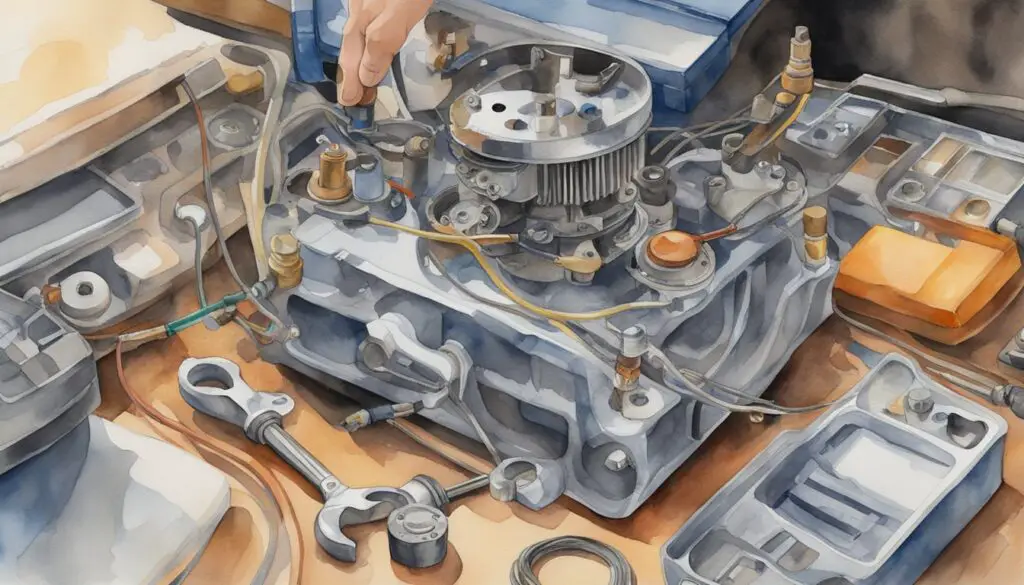
Inspecting and Cleaning Electrical Contacts
If your ignition switch is not working properly, it could be due to dirty or corroded electrical contacts. Here’s how to inspect and clean them:
- Disconnect the battery to avoid any electrical short circuits during the process.
- Locate the electrical contacts. They are usually located on the back of the ignition switch.
- Inspect the electrical contacts for signs of wear or corrosion.
- Clean the electrical contacts with a wire brush or sandpaper.
- Reconnect the battery.
Securing Loose Screws and Connectors
If your ignition switch is loose or not working properly, it could be due to loose screws or connectors. Here’s how to secure them:
- Disconnect the battery to avoid any electrical short circuits during the process.
- Locate the screws and connectors that hold the ignition switch in place.
- Tighten any loose screws with a screwdriver.
- Check all connectors to make sure they are securely connected.
- Reconnect the battery.
Remember, if you are not confident in your ability to repair or replace the ignition switch, it’s always best to consult a professional. By following these steps, you can troubleshoot and fix ignition switch problems in your Harley Davidson motorcycle.
Preventative Maintenance and Care
Regular Maintenance Checks
To avoid Harley ignition switch problems, it is essential to perform regular maintenance checks. You should inspect the wiring connections and look for signs of wear or corrosion on exposed surfaces. If everything looks okay, you can proceed to the next step. Use a basic multi-meter to test for continuity between each contact point within the ignition switch. You should also lubricate the keyhole with graphite powder or silicone spray to prevent dirt and grime buildup.
In addition, you should check the battery connections for tightness and corrosion. Loose or corroded battery connections can cause the ignition switch to fail. You should also check the battery voltage and replace the battery if it is low. A weak battery can cause the ignition switch to malfunction.
Immediate Actions After Noticing Symptoms
If you notice any symptoms of Harley ignition switch problems, you should take immediate action. Difficulty turning the key is a common symptom of ignition switch problems. If you experience this, you should clean the key and the switch with contact cleaner to resolve the issue. You can also try wiggling the key while turning it to see if this helps.
If cleaning the key and switch does not work, you may need to replace the ignition switch. You can contact your Harley Davidson dealership with your key code and VIN number, which are usually found in your owner’s manual. The dealership can then create a new key for you. However, if you don’t have access to your key code, you may need to remove the ignition switch and take it to a locksmith.
In summary, regular maintenance checks and immediate action when noticing symptoms are essential to prevent Harley ignition switch problems. By following these tips, you can keep your motorcycle running smoothly and avoid costly repairs.
Advanced Troubleshooting
If you’ve already tried the basic troubleshooting steps and your Harley ignition switch problem persists, you might need to perform some advanced troubleshooting. Here are some electrical component checks, continuity and voltage testing that you can do to diagnose the issue.
Electrical Component Checks
The first thing you should do is to check all electrical components that are related to the ignition switch. Inspect the wiring connections and look for signs of wear or corrosion on exposed surfaces. If everything looks okay, proceed to the next step.
Check the battery voltage first. If the battery is charged, but the engine won’t start, you may need to replace the ignition switch. You can also check the starter solenoid, the starter motor, and the ignition coil for any signs of damage or wear.
Continuity and Voltage Testing
Use a basic multi-meter to test for continuity between each contact point within the ignition switch. You can also test for voltage at each contact point to make sure that the switch is getting power. If you find that there is no continuity or voltage at any of the contact points, you might need to replace the ignition switch.
If you’re not comfortable doing these advanced troubleshooting steps yourself, it’s best to take your Harley to a professional mechanic. They will have the tools and expertise to diagnose and fix the problem quickly and efficiently.
Professional Services and Dealer Support

If you are experiencing ignition switch problems with your Harley-Davidson motorcycle, it is important to know that there are professional services and dealer support available to help you resolve the issue. In this section, we will discuss when to take your bike to the dealer and how to understand Harley-Davidson recalls.
When to Take Your Bike to the Dealer
If you have tried troubleshooting your ignition switch problems and are still experiencing issues, it may be time to take your bike to the dealer. Dealers have access to the latest information, tools, and parts to diagnose and repair your motorcycle. They can also perform routine maintenance to keep your bike running smoothly.
When you take your bike to the dealer, be sure to bring your owner’s manual, key code, and VIN number. This information will help the dealer identify your bike and diagnose the problem more quickly. You can also ask the dealer about any warranty or recall information that may apply to your bike.
Understanding Harley-Davidson Recalls
Harley-Davidson takes safety seriously and regularly issues recalls for motorcycles that have potential safety defects. If your bike is affected by a recall, the dealer will perform the necessary repairs or replacements free of charge. You can check for recalls on the Harley-Davidson website or by contacting your dealer.
Recalls are typically issued for specific model years and production periods. If your bike is affected by a recall, you will receive a notice in the mail. It is important to have any recall work performed as soon as possible to ensure your safety and the proper functioning of your motorcycle.
In conclusion, if you are experiencing ignition switch problems with your Harley-Davidson motorcycle, don’t hesitate to seek professional services and dealer support. Taking your bike to the dealer and understanding Harley-Davidson recalls can help you get back on the road safely and quickly.
Cost Considerations and Budgeting
If you are experiencing ignition switch problems with your Harley-Davidson motorcycle, you may be wondering about the costs associated with repairing or replacing the faulty part. In this section, we will discuss some cost considerations and budgeting tips to help you manage your expenses.
Estimating Repair Costs
The cost of repairing an ignition switch can vary depending on the extent of the damage and the type of repair needed. If the issue is minor, such as a loose connection or a worn-out key, the repair may be relatively inexpensive. However, if the switch needs to be replaced entirely, the cost can be much higher.
To estimate the repair costs, you can start by contacting your local Harley-Davidson dealership or a trusted mechanic. They will be able to diagnose the problem and provide you with an estimate of the repair costs. Additionally, you can also research the cost of replacement parts online to get an idea of how much you may need to spend.
Budgeting for Replacement Parts
If your ignition switch is beyond repair and needs to be replaced, you will need to budget for the cost of the replacement part. The cost of a replacement ignition switch can vary depending on the make and model of your motorcycle.
One option is to purchase a new ignition switch from a Harley-Davidson dealership. This can be more expensive, but you will have the peace of mind knowing that you are getting a high-quality, genuine part. Another option is to purchase a replacement part from a third-party supplier. This can be more affordable, but you will need to do your research to ensure that the part is compatible with your motorcycle.
When budgeting for replacement parts, it is important to consider not only the cost of the part itself but also any additional costs associated with installation. If you plan to install the part yourself, you will not need to budget for labor costs. However, if you plan to have a mechanic install the part, you will need to factor in the cost of labor as well.
In conclusion, estimating repair costs and budgeting for replacement parts can help you manage your expenses when dealing with ignition switch problems. By doing your research and planning ahead, you can ensure that you are getting the best possible deal while also ensuring the safety and reliability of your motorcycle.
Conclusion
In conclusion, Harley ignition switch problems can be frustrating and inconvenient when you’re out on the open road. However, with the right troubleshooting steps, you can quickly identify and fix most issues.
It’s important to inspect the wiring connections regularly for signs of wear or corrosion. If you notice any issues, use a basic multi-meter to test for continuity between each contact point within the switch. If you’re having difficulty turning the key, cleaning the key and the switch with contact cleaner can resolve this issue.
If you’re still having problems with your ignition switch, contacting your Harley Davidson dealership with your key code and VIN number can help you get a new key. If you don’t have access to your key code, you may need to remove the ignition switch and take it to a locksmith.
Remember, keeping your Harley Davidson motorcycle in good condition is key to enjoying a smooth ride on the open road. Regular maintenance and inspections can help you avoid ignition switch problems and other issues down the road.
Frequently Asked Questions
What signs indicate a failing ignition switch on a motorcycle?
If you experience any of the following signs, it may indicate that your motorcycle’s ignition switch is failing:
- The engine won’t start or stalls after starting.
- The motorcycle’s lights or accessories don’t turn on.
- The key won’t turn in the ignition switch.
- You hear a clicking sound when you turn the key.
How can I troubleshoot an ignition switch issue on my bike?
Before replacing the ignition switch, you can try the following troubleshooting steps:
- Check the battery voltage.
- Inspect the wiring connections for signs of wear or corrosion.
- Test for continuity between each contact point within the switch using a basic multi-meter.
What steps should I follow to diagnose an ignition switch malfunction?
To diagnose an ignition switch malfunction, follow these steps:
- Check the battery voltage.
- Inspect the wiring connections for signs of wear or corrosion.
- Test for continuity between each contact point within the switch using a basic multi-meter.
- If the switch fails any of the tests, replace it.
How do I fix an ignition switch that won’t turn?
If your ignition switch won’t turn, try the following:
- Ensure the key is inserted correctly.
- Turn the handlebars to relieve pressure on the lock.
- Spray lubricant into the lock to loosen any debris or rust.
- If none of these steps work, you may need to replace the ignition switch.
Can a faulty ignition switch drain the battery on my motorcycle?
Yes, a faulty ignition switch can drain the battery on your motorcycle. If the switch is not turning off the electrical system when the key is removed, it can cause a slow drain on the battery.
What maintenance tips can prevent ignition switch problems?
To prevent ignition switch problems, follow these maintenance tips:
- Keep the key and lock lubricated with graphite powder or silicone spray.
- Avoid using too many keys on your keychain.
- Check the wiring connections regularly for signs of wear or corrosion.
- Keep the battery charged and in good condition.
Last updated on February 16, 2026