If your John Deere 4520 tractor is feeling like a puzzle missing a few pieces, working through troubleshooting can be like finding the right fit for each part. But what if the pieces don’t seem to quite align? This guide aims to unravel the mysteries behind common issues experienced with the John Deere 4520, offering you a roadmap to get your tractor back on track efficiently and effectively.
Key Takeaways
- Check fuel filters for clogs impacting engine performance.
- Inspect injectors for misfires and uneven fuel distribution.
- Monitor coolant levels and radiator for overheating prevention.
- Address low transmission fluid levels for proper shifting.
- Verify hydraulic system for leaks and fluid levels.
Engine Performance Issues
If your John Deere 4520 is experiencing engine performance issues, it may be due to fuel system problems such as clogged filters or faulty injectors. These issues can have a substantial impact on the power output and efficiency of your tractor.
When filters become clogged, they restrict the flow of fuel to the engine, leading to decreased performance. Faulty injectors can cause uneven fuel distribution, resulting in misfires and reduced power.
To address these problems, start by checking the fuel filters for any blockages. If they’re dirty or clogged, replace them with new filters. Inspect the injectors for signs of wear or damage. If any issues are detected, consider cleaning or replacing the injectors to ensure proper fuel delivery.
Regular maintenance of the fuel system is essential to prevent these performance issues. By keeping filters clean and injectors in good condition, you can optimize the engine’s performance and enjoy smooth operation of your John Deere 4520.
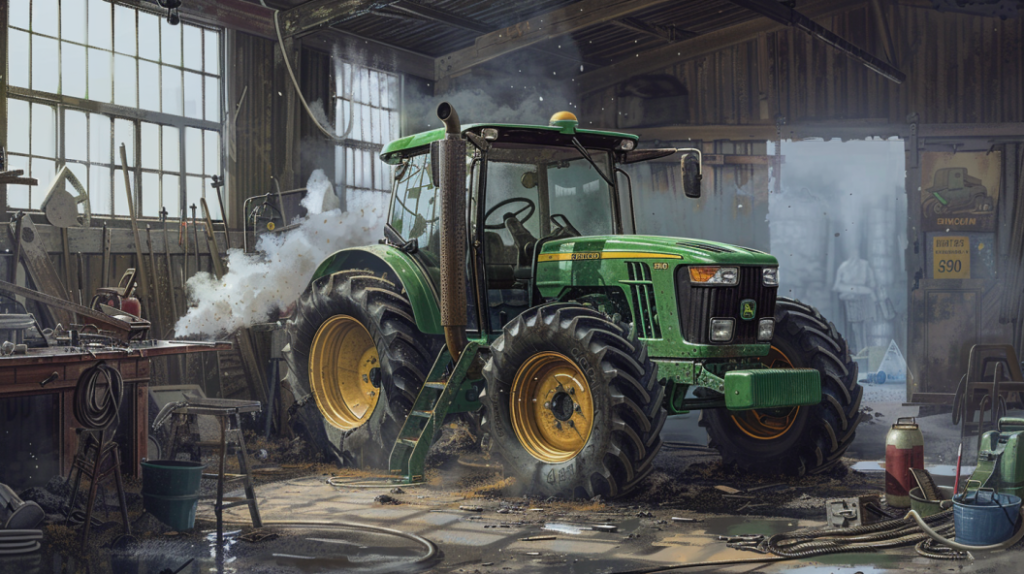
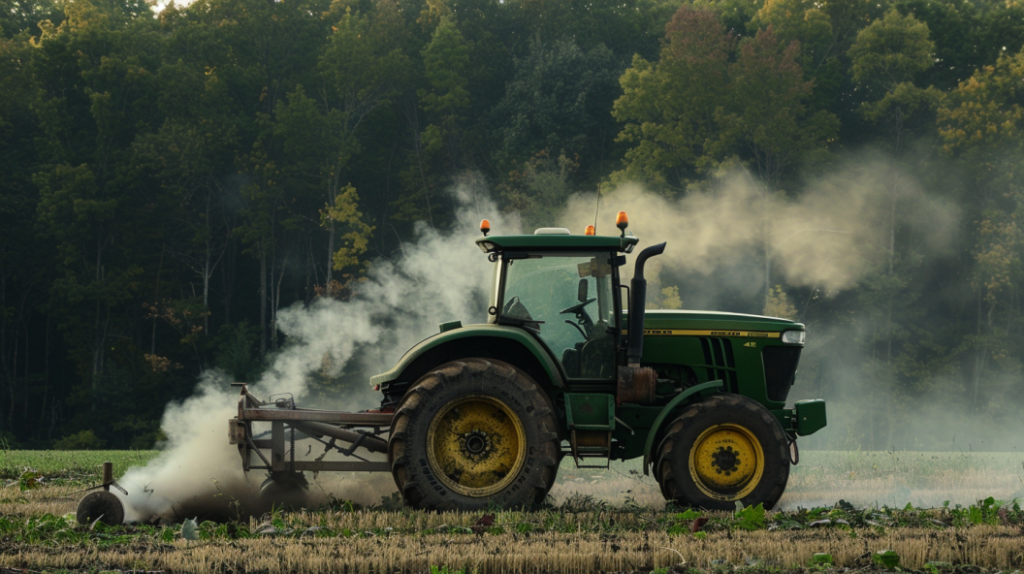
Engine Overheating Problems
Experiencing engine overheating problems on your John Deere 4520 can be indicative of underlying issues that require immediate attention to prevent damage and guarantee peak performance.
When your engine overheats, it can be caused by a variety of factors such as a malfunctioning thermostat, low coolant levels, a faulty water pump, or a clogged radiator. Start by checking the coolant levels and making sure there are no leaks in the system. Inspect the radiator for any debris or blockages that may be hindering proper airflow.
Additionally, a malfunctioning thermostat can disrupt the coolant flow, leading to overheating. Regular maintenance, including flushing the cooling system and replacing coolant as recommended, can prevent these issues.
If problems persist, it’s advisable to seek professional help to diagnose and address any underlying mechanical issues causing the overheating, ensuring peak performance and longevity of your John Deere 4520.
Transmission Not Shifting Properly
Transmission issues on your John Deere 4520, such as not shifting properly, can be indicative of underlying mechanical issues that need immediate attention for peak performance. When your transmission is not shifting correctly, it can lead to inefficiencies in power delivery and overall functioning of your tractor. To assist you in diagnosing and resolving this problem, refer to the table below outlining potential causes and solutions for transmission irregularities on your John Deere 4520.
| Potential Cause | Possible Solution |
|---|---|
| Low Transmission Fluid | Check and refill transmission fluid to proper levels |
| Worn Clutch Components | Inspect clutch components for wear and replace as needed |
| Faulty Shift Linkage | Check for misalignments or damages in the shift linkage system |
| Transmission Control Module Issues | Diagnose the transmission control module for faults |
| Internal Transmission Damage | Consult a professional for internal transmission inspection |
Transmission Slipping or Jerking
When your John Deere 4520’s transmission is slipping or jerking, immediate attention is essential to prevent further damage and maintain peak performance. Transmission slipping can be caused by low transmission fluid levels, worn-out clutch plates, or a malfunctioning shift solenoid.
Begin by checking the transmission fluid level and condition. Low levels or dirty fluid can lead to erratic gear changes. Confirm the fluid is at the correct level and appears clean.
Next, inspect the clutch plates for wear and tear. Worn-out clutch plates can cause the transmission to slip or jerk during gear changes. If the clutch plates are damaged, they’ll need to be replaced.
Additionally, a faulty shift solenoid can also result in transmission issues. The shift solenoid controls the flow of transmission fluid and plays an important role in gear shifting. If the solenoid is defective, it can cause the transmission to slip or jerk.
Consider consulting a professional mechanic to diagnose and address the specific cause of your John Deere 4520’s transmission problems promptly.
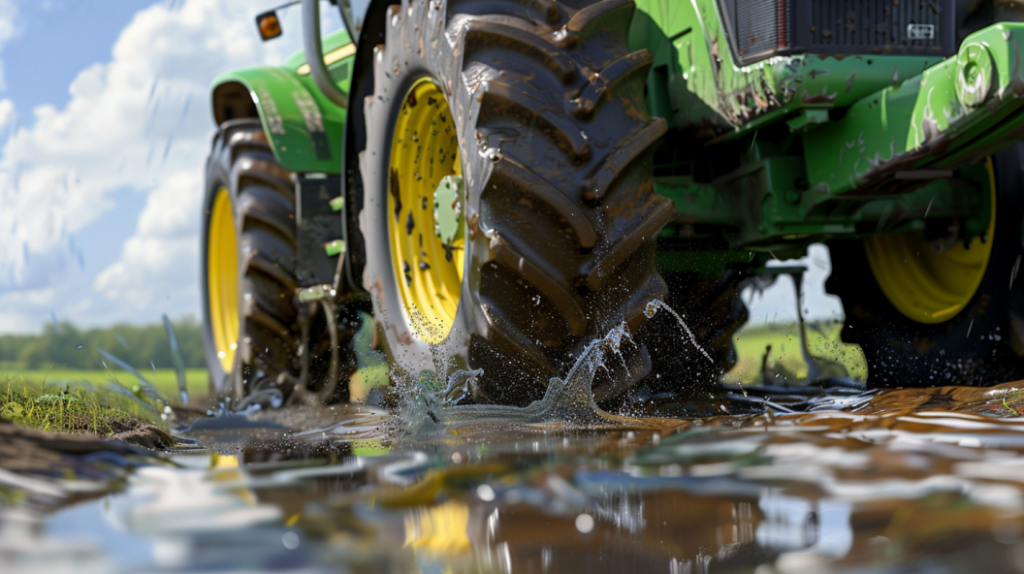
Hydraulic System Leaks
Inspecting the hydraulic system of your John Deere 4520 is essential to identify and address any leaks promptly. Hydraulic system leaks can cause a loss of fluid, reduced efficiency, and potential damage to other components.
Here are some steps to troubleshoot hydraulic system leaks:
- Check for visible leaks: Look for any signs of oil puddles or drips underneath the tractor. Inspect hydraulic hoses, fittings, and connections for any signs of leakage.
- Inspect hydraulic cylinders: Check the hydraulic cylinders for any visible signs of oil leaks. Inspect the rod and seals for wear or damage that could be causing leaks.
- Examine the hydraulic pump: Inspect the hydraulic pump for any oil stains or wetness around the pump housing. This could indicate a leak that needs to be addressed promptly.
- Monitor fluid levels: Keep an eye on the hydraulic fluid levels in the reservoir. A sudden drop in fluid level could indicate a significant leak that needs immediate attention.
Hydraulic System Not Responding
To troubleshoot a hydraulic system that isn’t responding on your John Deere 4520, begin by verifying the hydraulic fluid levels and examining the system for any visible leaks or blockages. Low hydraulic fluid levels can cause the system to operate inefficiently or not respond at all. Confirm that the fluid is at the recommended level and that there are no signs of leaks in the system.
Next, inspect the hydraulic lines, valves, and connections for any blockages that may be hindering the flow of fluid. Clear any obstructions that you find to allow for proper fluid movement within the system.
If the fluid levels are adequate and there are no visible leaks or blockages, the issue could be related to a malfunctioning hydraulic pump or a problem with the hydraulic control valve. In such cases, it’s advisable to consult a certified technician to diagnose and repair the specific hydraulic components causing the system to not respond.
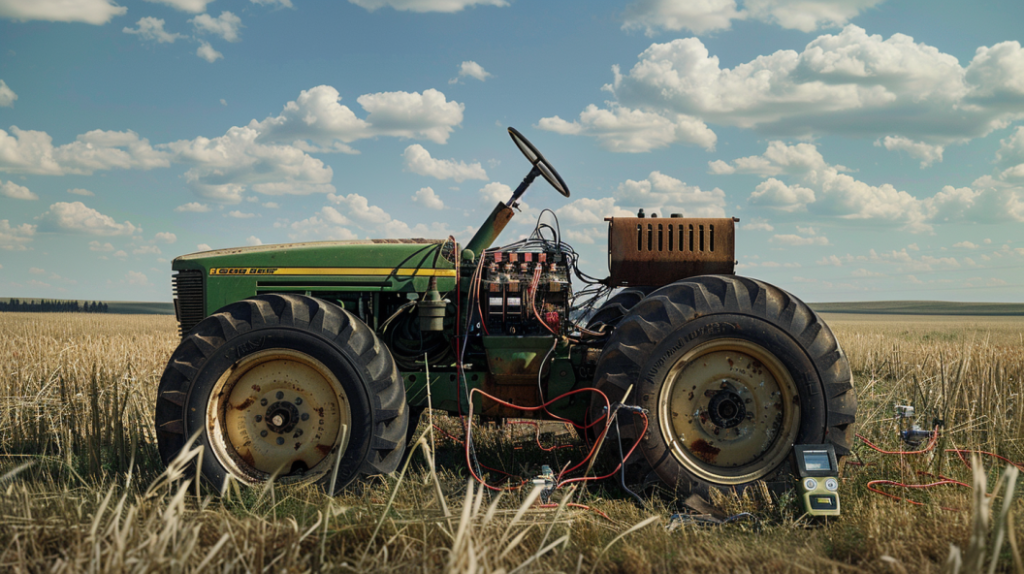
Electrical System Malfunctions
If you’re experiencing electrical system malfunctions with your John Deere 4520, you might be dealing with a battery drain issue, wiring connection problems, or symptoms of a faulty alternator.
These issues can cause starting difficulties, intermittent power loss, or even complete electrical system failure.
It’s important to diagnose and address these problems promptly to guarantee peak performance of your tractor.
Battery Drain Issue
Experiencing frequent battery drain issues in your John Deere 4520 may indicate underlying electrical system malfunctions that require immediate attention. When faced with a battery drain problem, follow these steps to troubleshoot and resolve the issue efficiently:
- Check for Parasitic Draws: Use a multimeter to measure the current draw when the tractor is turned off. A high reading indicates a parasitic draw that’s draining the battery.
- Inspect Battery Connections: Ensure that the battery terminals are clean, tight, and free of corrosion. Loose connections can lead to voltage drops and excessive battery drain.
- Test the Alternator: Verify that the alternator is functioning correctly and charging the battery as it should. A faulty alternator can cause the battery to drain quickly.
- Examine Electrical Components: Inspect all electrical components, such as lights, switches, and accessories, for any malfunction that could be drawing power even when the tractor is off.
Addressing these factors can help pinpoint and resolve the battery drain issue in your John Deere 4520, promoting efficient performance and longevity of your electrical system.
Wiring Connection Problems
Examining the wiring connections in your John Deere 4520 is crucial for identifying and resolving electrical system malfunctions efficiently. Start by visually inspecting all wiring harnesses for any signs of fraying, damage, or loose connections.
Check the battery terminals and make certain they’re clean, tight, and free of corrosion. Next, inspect the fuse box for any blown fuses or loose connections. Use a multimeter to test the continuity of wires and guarantee proper voltage levels throughout the system.
Pay close attention to the wiring around the ignition switch, starter motor, and alternator. Loose connections in these areas can lead to starting issues or charging problems. If you encounter any faulty connections, repair or replace the wiring as needed.
Additionally, make sure all grounding points are secure and free of rust or corrosion.
Regularly inspecting and maintaining your John Deere 4520’s wiring connections can prevent costly electrical system malfunctions and downtime in the long run.
Faulty Alternator Symptoms
Inspecting the electrical system for faulty alternator symptoms on your John Deere 4520 is essential for maintaining peak performance and preventing potential malfunctions. Here’s what to look out for:
- Dimming Lights: If you notice your lights are dimming, especially when you increase the RPM, it could be a sign of a failing alternator not providing enough power to the electrical components.
- Battery Issues: Constantly needing to jump-start your battery or experiencing frequent dead battery situations might indicate that the alternator isn’t effectively charging the battery.
- Strange Noises: Unusual grinding or whining noises coming from the alternator area could point to internal mechanical issues that need to be addressed promptly.
- Dashboard Warning Light: If the alternator warning light on your dashboard illuminates, it’s a clear indicator that there’s a problem with the alternator that requires attention.
Being vigilant about these symptoms can help you catch alternator issues early, preventing larger electrical system problems down the line.
Steering Difficulties
Addressing steering difficulties on the John Deere 4520 requires a systematic approach to diagnose and resolve the issue effectively. When encountering steering problems, the first step is to verify the power steering fluid level. Low fluid levels can lead to hard steering and must be topped up to the recommended level as per the manufacturer’s guidelines.
Next, inspect the power steering pump and hoses for any signs of leaks or damage. Leaks can result in a loss of hydraulic pressure, causing steering difficulties. Confirm that the pump is functioning correctly and that the hoses are securely connected.
If the fluid level is adequate and no visible leaks are present, the issue may lie with the steering gearbox or linkage. Inspect these components for wear, damage, or misalignment. Adjustments or replacements may be necessary to restore proper steering function.
Lastly, perform a thorough check of the steering system for any other potential issues, such as worn-out steering components or improper wheel alignment. By following these steps diligently, you can troubleshoot and address steering difficulties on your John Deere 4520 effectively.
Preventative Maintenance Tips
To guarantee your John Deere 4520 runs smoothly, it’s essential to adhere to a strict maintenance schedule. Regularly checking fluid levels and performing timely belt and filter replacements are key to preventing potential issues down the line.
Maintenance Schedule Importance
Consistently maintaining your John Deere 4520 according to the recommended schedule is essential for peak performance and longevity. By adhering to a strict maintenance schedule, you can prevent costly breakdowns and make sure that your equipment operates at its best.
Here are some key reasons why following the maintenance schedule is vital:
- Preventative Care: Regular maintenance helps identify and address potential issues before they escalate into major problems, saving you time and money in the long run.
- Optimal Performance: Following the recommended maintenance intervals ensures that all components are in top condition, allowing your John Deere 4520 to operate efficiently.
- Extended Lifespan: Proper maintenance increases the lifespan of your equipment, reducing the need for frequent replacements and costly repairs.
- Safety: Regular maintenance checks help ensure that your John Deere 4520 is safe to operate, protecting both you and those around you.
Fluid Level Checks
Regularly checking the fluid levels in your John Deere 4520 is vital for maintaining peak performance and preventing potential issues.
Start by checking the engine oil level using the dipstick. Make sure the engine is off, and the machine is on a level surface for an accurate reading.
Next, inspect the hydraulic fluid level in the reservoir located near the back of the tractor. Look for any signs of contamination or low levels that could indicate a leak or a need for fluid replacement.
Additionally, examine the coolant level in the radiator to prevent overheating and engine damage. It’s important to use the recommended fluids for each system and to maintain the levels within the specified ranges to keep your John Deere 4520 running smoothly.
Belt and Filter Replacements
Check the condition of belts and filters on your John Deere 4520 regularly to guarantee peak performance and prevent potential breakdowns. Proper maintenance of these components is essential for the overall health of your tractor. Here are some key points to keep in mind:
Inspect Belts:
Check belts for signs of wear, cracks, or fraying. Replace any belts that show these signs as they can lead to belt slippage and reduced efficiency.
Replace Filters:
Regularly replace air, fuel, oil, and hydraulic filters as recommended by the manufacturer. Clogged filters can restrict fluid flow and cause damage to vital engine components.
Tension Adjustment:
Ensure belts are properly tensioned to prevent slipping and premature wear. Follow the manufacturer’s guidelines for adjusting belt tension.
Use Genuine Parts:
Always use genuine John Deere replacement belts and filters to guarantee compatibility and top performance. Generic parts may not meet the same quality standards and could lead to issues down the line.
Frequently Asked Questions
How Can I Improve Fuel Efficiency on My John Deere 4520?
To improve fuel efficiency on your John Deere 4520, consider regular maintenance like changing air filters, fuel filters, and spark plugs. Monitor tire pressure and avoid excessive idling.
Utilize the tractor’s eco-mode if available and maintain a steady speed. Properly calibrate the engine for best performance.
Implementing these practices can help maximize fuel efficiency and reduce overall costs associated with operating your John Deere 4520.
What Should I Do if My Tractor’s Lights Are Flickering?
Dimming or flickering lights on your tractor may indicate an electrical issue. Start by checking the battery connections for any corrosion or looseness.
Inspect the alternator and voltage regulator as well. Confirm the wiring harness is intact and not damaged.
If issues persist, consider consulting a professional technician for a thorough diagnosis and repair. Maintaining a well-functioning electrical system is vital for safe and efficient operation of your tractor.
Are There Any Common Tire Issues With the John Deere 4520?
Common tire issues with the John Deere 4520 may include uneven tread wear, low tire pressure, or punctures. Regularly inspecting your tires for signs of damage, maintaining proper tire pressure, and ensuring even weight distribution on the tractor can help prevent these issues.
If you notice any abnormalities, promptly address them to avoid further damage and maintain peak performance of your John Deere 4520.
Can I Use Aftermarket Parts for Repairs on My Tractor?
Yes, you can use aftermarket parts for repairs on your tractor. However, be cautious when selecting these parts as quality may vary.
Make sure that the aftermarket parts are compatible with your John Deere 4520 to avoid any issues.
It’s recommended to research and consult with experts to guarantee the aftermarket parts meet the necessary specifications for best performance and longevity of your tractor.
What Is the Average Lifespan of a John Deere 4520?
The lifespan of a John Deere 4520 typically ranges from 8,000 to 10,000 hours of operation. Regular maintenance and proper care can help extend its durability.
Factors such as usage intensity, maintenance consistency, and environmental conditions play a role in determining how long your tractor will last.
Conclusion
As you navigate through the troubleshooting process for your John Deere 4520 tractor, remember that every problem is like a knot waiting to be untangled. By following the steps outlined in this guide, you’re equipped to unravel any issues that may arise and keep your tractor running smoothly.
Just like a skilled farmer tending to their fields, with patience and diligence, you can conquer any challenges that come your way.
Happy troubleshooting!
Leave a Reply